
SSH, or the Secure Shell Protocol is a secure network protocol that supports encrypted communication between the client and it’s host. GitHub, and indeed all of the major Git clones including GitLab and AWS CodeCommit support SSH as a secure communications layer between the client (typically your development machine) and the server.
Why SSH?
It may surprise you to discover that there’s an amazing amount of incorrect information on the internet in relation to SSH. Many of the results relate to using SSH with GitHub, but few offer a cogent reason for actually using SSH.
Is it more secure than HTTPS? Not necessarily. Is it less secure? Also not necessarily, it really comes down to how you configure your SSL certificate, and how you configure your SSH keys.
Remember, underpinning both SSL and SSH is the same public key cryptography using the same algorithms. The rationale behind the protocols was different at their inception, one intended for peer to peer communication between computers, the other intended for communication between a browser and a web host. Over time, of course, this distinction has become increasingly blurred. You can use SSH with just a username / password combination, but this is not the best configuration from either a security or convenience perspective.
Is it more convenient? Well, also not necessarily. If you configure your git client to its fullest extent, it’s about the same. With that said, if you’re interacting with multiple Git repositories, or if you’re in the process of migrating from one Git provider to another, SSH will be the undoubtedly more convenient.
So what’s left? Is it cooler, oh yeah, if you want to boost your 10x credentials, then SSH is the way to go.
What About Windows?
SSH initially emerged in the mid 1990s on Unix based systems, but has since become a ubiquitous protocol on the internet. Windows has supported OpenSSH through third party applications since the late 1990s, with SSH appearing in 1999. OpenSSH has been distributed as part of the core Windows operating system since Windows Server 2019 or Windows 10 (build 1809).
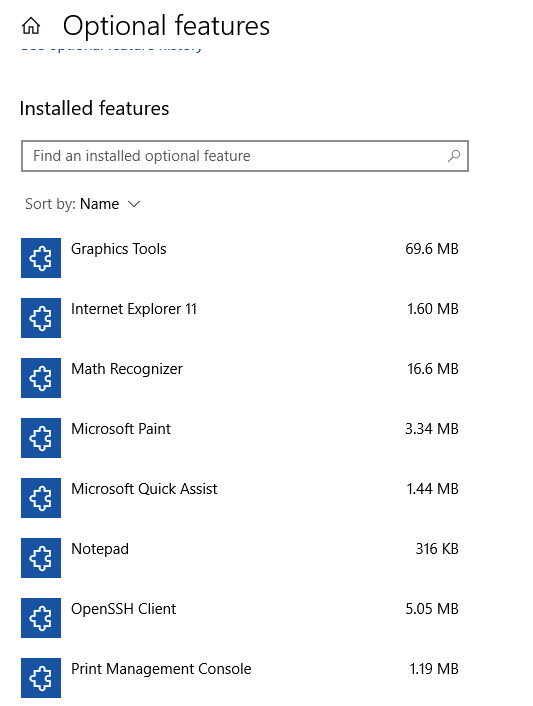
It may be necessary to install it as an optional feature – found under the Apps and Features setting.
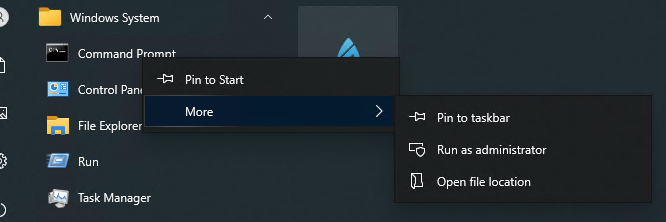
Depending on the permissions that have been set for your Windows environment, you may need to run the command prompt as an Administrator:
Create the SSH Keys
ssh-keygen -t ed25519 -C "email address" -f ~/.ssh/<key name>
The -t option is used to determine the type of key that will be used for the SSH key pair. ed25519 is an elliptic curve algorithm that combines reasonable security with speed. This algorithm is a recent addition to OpenSSH, and may not be universally supported.
The -C option is used to add a comment to the key’s metadata. We use it here to specify the email address that we’ll be associating with the key. Note that this relationship is not enforced.
The -f option specifies the output directory. In this case, the standard SSH directory in the user’s local profile is used with our specified key name.
AWS CodeCommit
At the time of writing, AWS CodeCommit, which is Git compatible, does not support the ed25519 algorithm. For keys being generated with this use case in mind, use the RSA algorithm:
ssh-keygen -t rsa -b 4096 -C "email address" -f ~/.ssh/<key name>
The -b option when needed, specifies the desired key length in bits.
Changing Your Password
When asked to provide a password choose one with reasonable complexity.
You can change the password associated with the key using:
ssh-keygen -p -f ~/.ssh/<key name>
Note Don’t be tempted to create a key pair without setting a password. This will compromise the security of the solution. The next step will ensure that regardless of the complexity of your password, you won’t suffer too much inconvenience to use it.
Add the key to the SSH Agent
The SSH Agent is a service that runs in memory acting as a key manager. It holds the keys and certificates in the clear, serving them up on demand to ssh.
First make sure the SSH agent is running:
ssh-agent -s
Which should return details on the agent’s process ID amongst other information.
Add the newly generated key to the agent using the following command:
ssh-add --apple-use-keychain ~/.ssh/<key name>
The –apple-use-keychain option, naturally, is for MacOS users allowing the password for the key to be stored and used in the Keychain.
Make sure that the SSH key has been added using:
ssh-add -l
Note if the key isn’t here, then subsequent commands that rely on it, such as Git commands will fail. The errors that you will receive won’t make it obvious that the key is missing, so you’ve been warned.
Create an SSH Configuration
The last step is to add the newly generated key pair to the SSH configuration file.
If the file doesn’t exist, it can be created using:
touch ~/.ssh/config
Then add a configuration for each key:
Host <friendly name - organisation 1>
    HostName github.com
    AddKeysToAgent yes
    UseKeychain yes
    IdentityFile ~/.ssh/<key name>

Host <friendly name - organisation 2>
    HostName github.com
    AddKeysToAgent yes
    UseKeychain yes
    IdentityFile ~/.ssh/<second key name>
The HostName is the actual hostname that will be used for the session.
The AddKeysToAgent option automatically adds the key to the ssh-agent. If set to yes, they will be automatically added, if set to ask the agent will ask for confirmation before being added.
The IdentityFile is the path to the key pair generated at the start.
Note The UseKeychain option, is for MacOS users allowing the password for the key to be stored and used in the Keychain, reflecting the option noted above for ssh-add
Add The Keys to GitHub
The last step for now is to assign your key to your Github profile.
Note for other git compatible systems, the process is similar.
First, take a copy of the public key portion of the key you just generated. Depending on your operating system, you may need to open the <key name>.pub file in a text editor, or on MacOs use the following:
tr -d '\n' < ~/.ssh/<key name>.pub | pbcopy
The tr command translates between stdin and stdout applying the specified translations. This version ensures that there are no newline characters in the output.
The -d option deletes or removes characters from the input stream, in this case linefeed characters.
pbcopy is the command line tool to copy data to the clipboard.
Similarly, on Windows:
type .ssh\<key name>.pub | clip
The type command writes the contents of the file to stdout.
The clip is the command line tool to copy data to the clipboard.
Next, we want to register this public key with Github.
Log on to your Github account and then, from your account settings, choose SSH and GPG keys from the menu:

Then choose New SSH Key to add the key from the clipboard.

Finally, chose a title for the key and paste the contents of the clipboard into the Key text field. Leave the Key Type set to Authentication Key
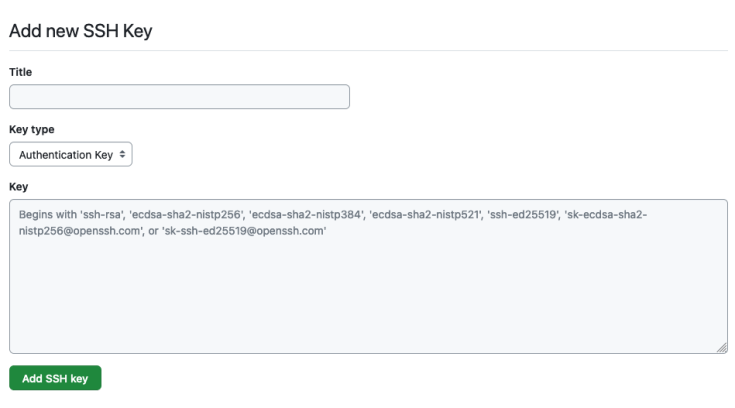
Note make sure you choose a descriptive title for the key. You want to be able to remember why you added this key, and at some point in the future be able to find what device holds the private portion of this key pair.
Testing the Key
The general structure for requests to Github using SSH is:
git@<hostname>:<user>/<repo>.git
The default <hostname> is github.com.
The <user> is the owner of the repository. For companies this is most often the company name.
The <repo> is the repository that is being operated on.
Supporting Multiple GitHub accounts
Looking back at the “Create an SSH Configuration” section, the target host and associated SSH key is identified by the Host parameter of each entry. Replacing the <hostname> with this name in the address will allow multiple GitHub hosts to be used.
git@<host from ssh configuration>:<user>/<repo>.git
Wrapping Up
That’s the basics of getting SSH set up for GitHub access, but there is a more sophisticated approach that makes the entire process even easier to use which I’ll describe in my next post on this topic.
